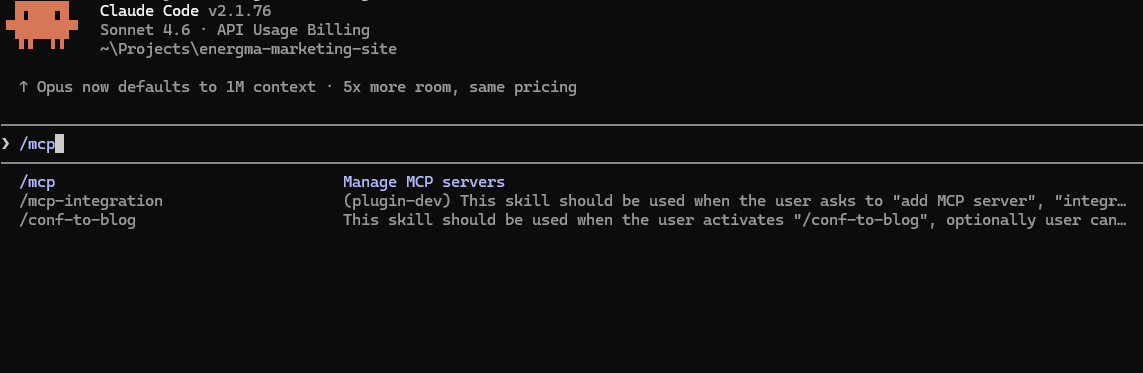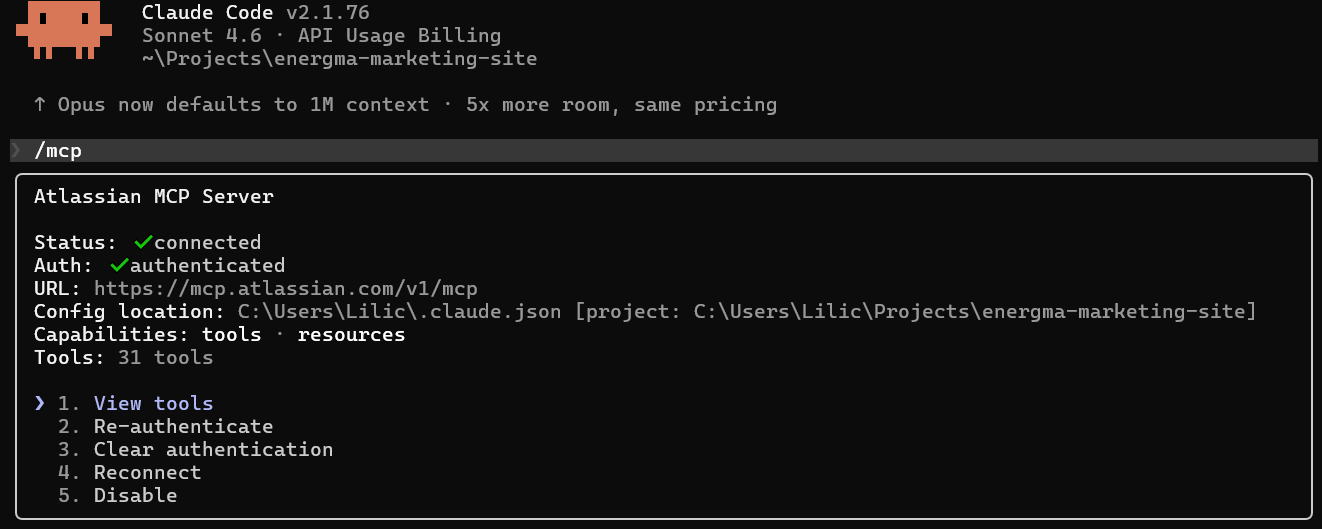

Step 1: Installing Atlassian MCP for Claude
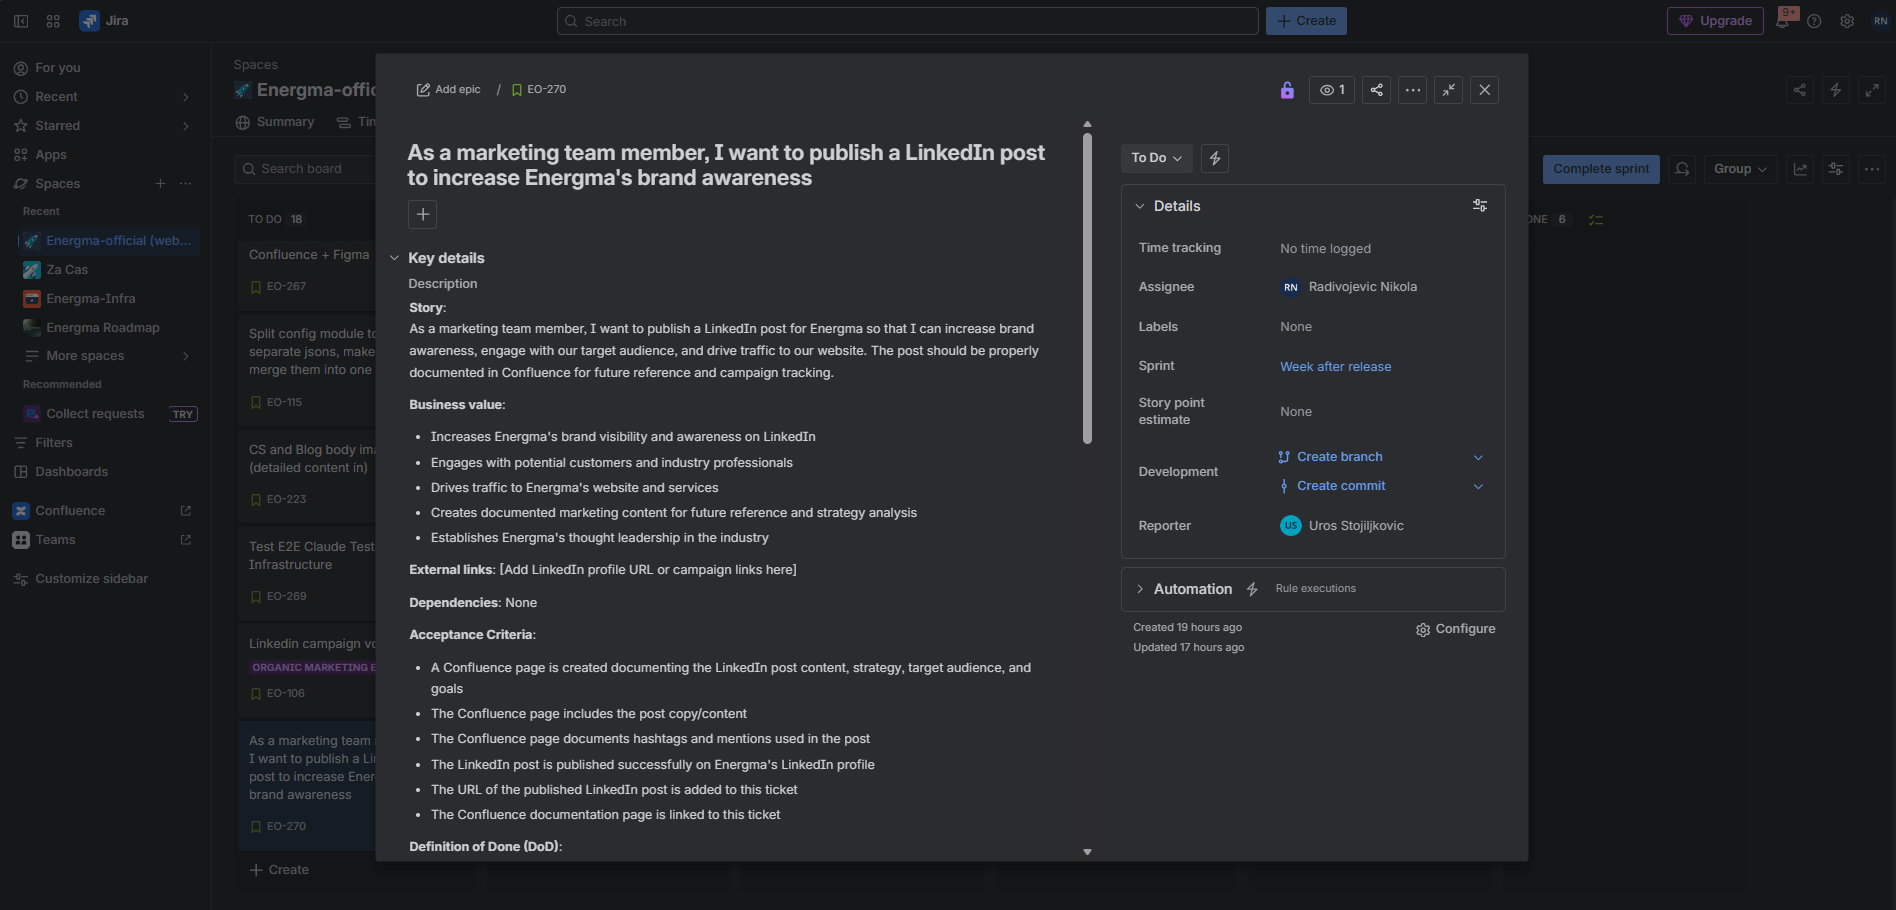
To connect Claude with Atlassian products like Jira and Confluence, we need to install the Atlassian MCP server.
Run:
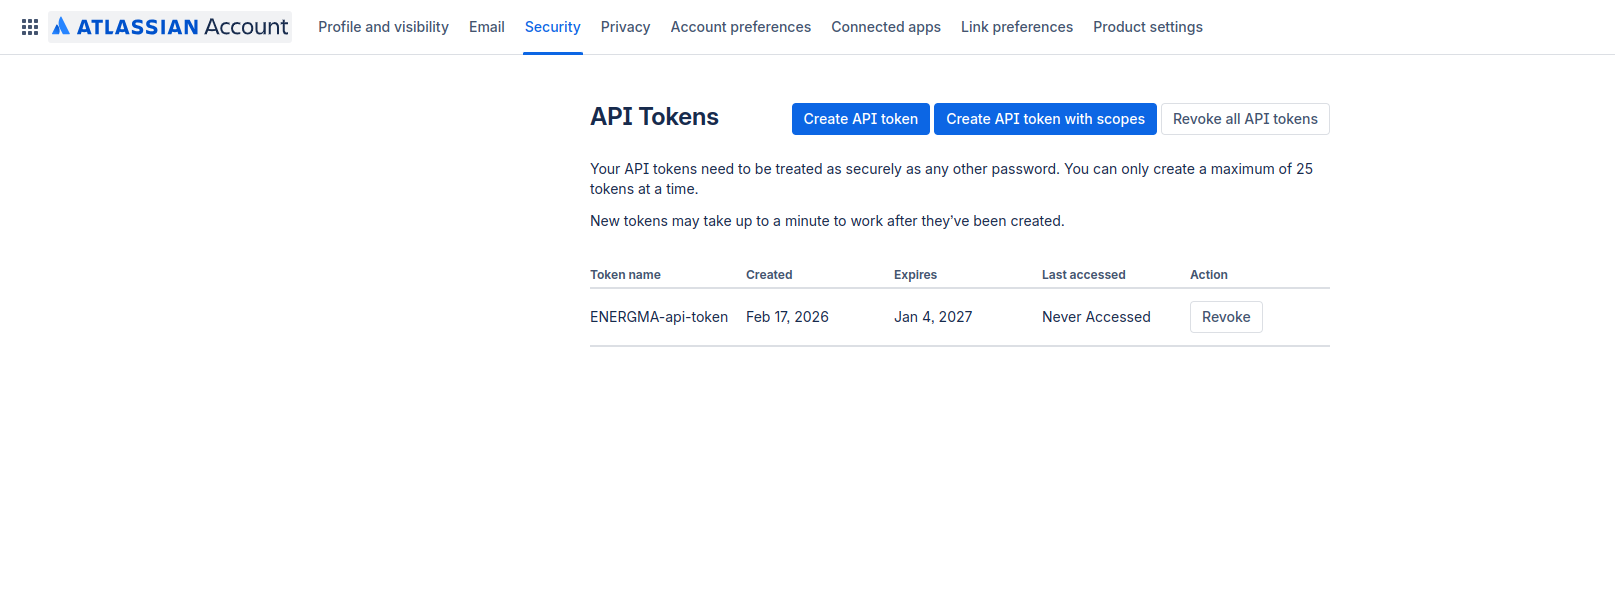
1claude mcp add --transport http atlassian https://mcp.atlassian.com/v1/mcpOr, if you already have a token:
1claude mcp add --transport http atlassian https://mcp.atlassian.com/v1/mcp --header "Authorization: Bearer YOUR_API_TOKEN_HERE"